Prettify your qBittorrent WebUI


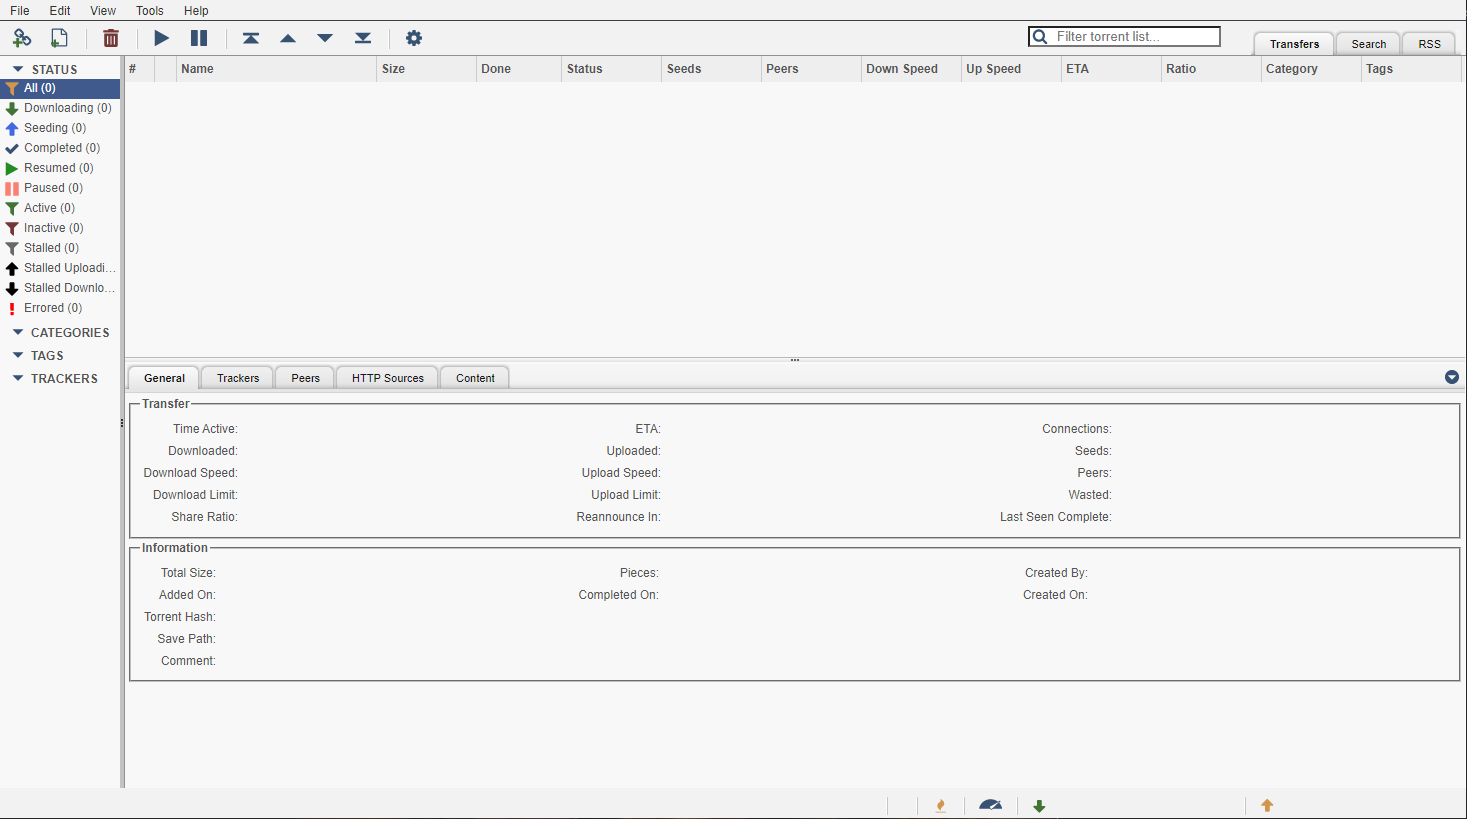
I absolutely love qBittorrent but as an UI Designer, one thing that doesn’t sit well with me is its 1990-esque web interface. While they do allow you to load your custom CSS, there wasn’t a lot you could do with it beyond changing a few colors, and even the most downloaded themes in the community still only looks marginally better.
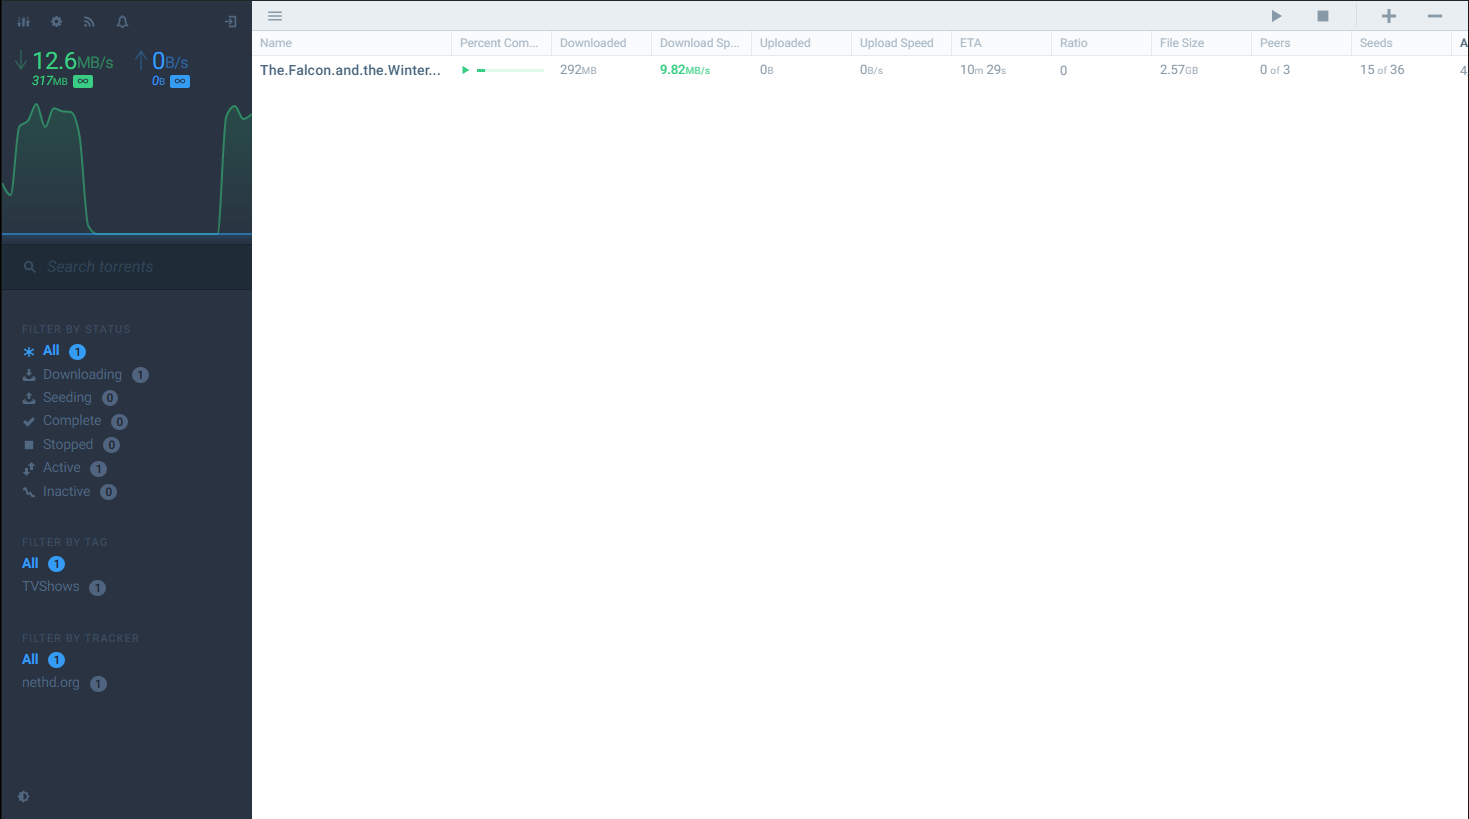
Lucky for us, I’m not the only person on the planet to feel that way, the existence of Flood can attest to that. Now let’s get one thing out of the way, Flood is NOT a theme. It’s actually a microservice that allows you to communicate with various torrent clients (namely rTorrent, qBittorrent 4.1+ and Transmission) and serves an alternative web UI which just happen to look great. This means that in my case you’d need a qBittorrent web UI service already up and running for Flood to work. A bit clunky yes but totally worth it for those who prefer eyecandiness like your truly.
So here’s how I set it up on my little Mac Mini server (this is the non-Docker way, I am aware you can achieve all of these with dockers but after spending a few rage inducing hours on it I figure it’s just easier to run everything natively)
First of all, you’ll need a working qBittorrent web UI service running. This can be done by simply opening qBittorrent, go to Options > Web UI and click on the checkbox to enable it. Take note of the IP address and port because Flood is going to ask for it later (if you put an asterisk* as your IP, it means you’re using 127.0.0.1 or localhost)

Next up, get node installed on your system, on OS X if you have homebrew installed, you can just simply execute brew install node from the terminal. It’s going to take a while, especially if you have a shitty 2011-esque Mac Mini like mine so grab some coffee.
After you have node up and running, it’s time to install Flood by running npm install flood -g, after that you can run npm flood to start the service but before we do that I strongly advise you run it with pm2 just so Flood doesn’t close as soon as you close the terminal.
Install pm2 with npm install pm2 -g
Now run pm2 start flood
That’s it, not you have flood running in the background, you can go to the web admin interface which should be located on localhost:3000 and complete the setup there, it will ask for your qBittorrent crendentials so make sure you have every setup correctly in qBittorrent options.
TL;DR
To get Flood running on an existing OS X installation:
brew install nodenpm install flood -gnpm install pm2 -gpm2 start floodUpdate 06/12/2021: It has came to my attention that by default, flood is set to be only accessible locally. If you want to be able to access it remotely you’ll need to pass a few more arguments to the pm2 startup command, something like this:
pm2 start flood -- --host 0.0.0.0 --port 3000Specifically, you’ll need to define your hostname IP address and the port it will run on.
That’s all, folks. Now you can setup a reverse proxy to access Flood interface remotely on your custom domain or DDNS, I will have another post regarding that soon.