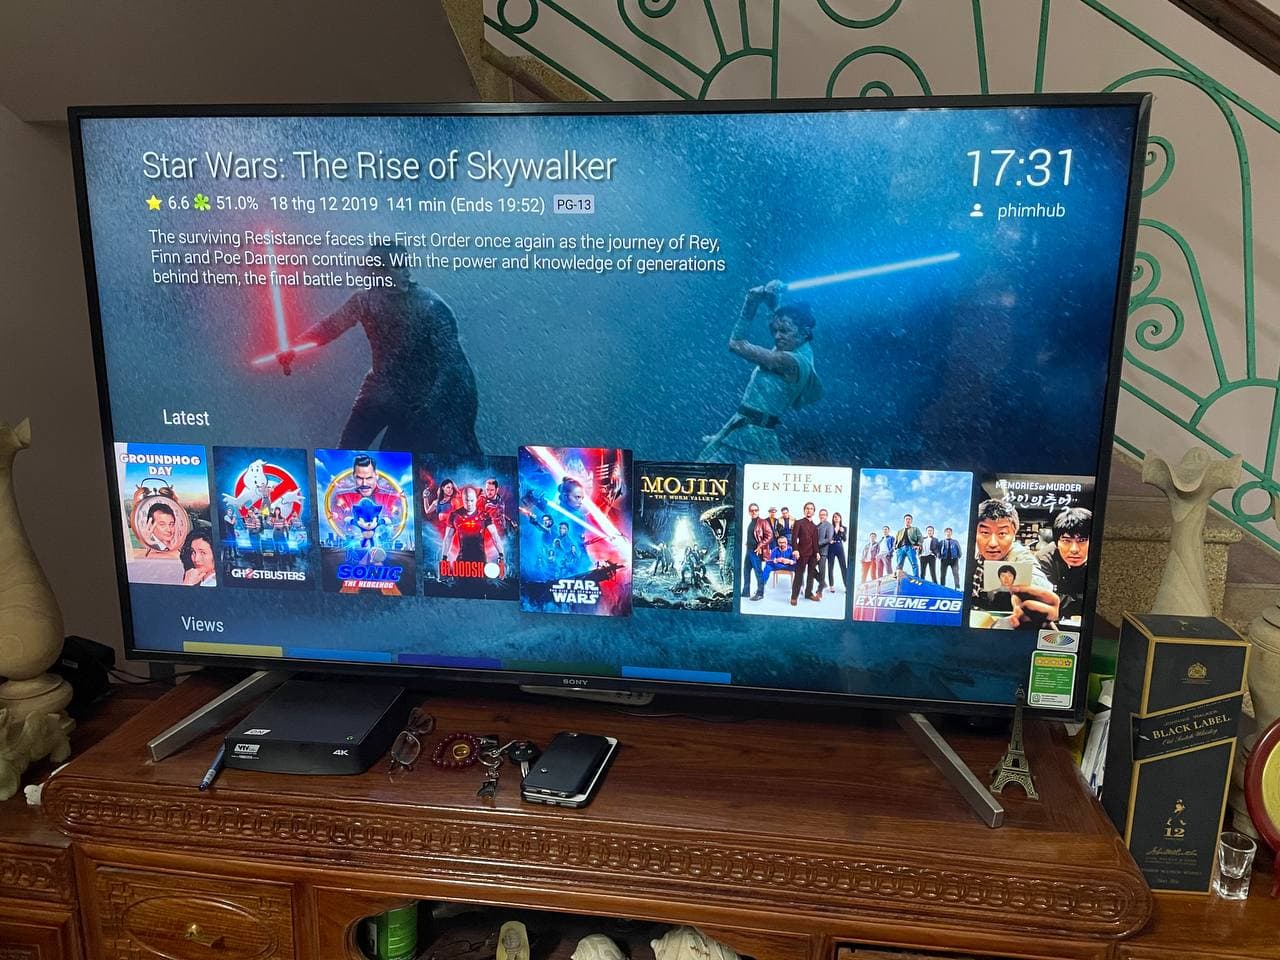
Hosting my own Netflix on an ancient Mac Mini 2011

(This is not really a guide or a tutorial, you may get some tips on how to setup a reverse proxy to access your server from your own domain, but if you’re here looking for a full blown media server setup guide, you’re in the wrong place)
I’m sure I’m not the first to have setup a little media server at home serving all kinds of, um, totally legal content that you obtained from the Internet. But accessing it outside of your home has always been something that I never got around to do.
Until this Tet holiday that is.
Since I had to spend like 4-5 days at my inlaws during these times, I knew Netflix alone ain’t gonna cut it, especially since I’ve pretty much watched everything that worth watching on it. I need to be able to access my quality contents that were sitting under my TV in my bedroom, a hundred kilometer away.

Anywho, enough rambling. You want to know how I set it up. Read on.
It’s simple really, I bought a used Mac Mini 2011 for around $40 back in 2018. It has a what I believe a 3rd gen core i5 and 6GB of DDR3 SODIMM RAM. I know it is a potato, but it consumes about 85W at full load so I can leave it running 24/7 instead of my Ryzen rig. Originally it only serves as a media player for my wife to watch movies on FPT Play, HayHayTV, PubVN, MotPhim, etc. on our cheapo Asanzo TV (some of these services only run on a browser so Kodi doesn’t cut it, need to be a fully functional OS). She only watches for around 2 hours each night, yet the thing is running 24/7, it would a complete waste of electricity if I don’t somehow find a way to make it useful for the rest of the day.
And that’s where Jellyfin came in. A few simple setups and you can now watch movies store on this little potato.
Basically there’s only 4 steps involved:
- Download, install and run Jellyfin server
- Populate your media library with whatever movies/TV shows you have
- Install Caddy and run the command below
- Point your domain DNS to your home’s public IP
I got the reverse proxy up, bind it to my domain WITH a valid SSL with a single command:
caddy reverse-proxy --from example.com --to 127.0.0.1:8096
(Check out Jellyfin documentation on Caddy if you need further information)
That’s it. You’re done!
Of course, since I’m running the server from my bedroom, there’s still the issue with dynamic IP address. Viettel is not exactly the most reliable ISP so I get random modem reboot every couple of days. Everytime it happens I’d need to log into CloudFlare and manually change the DNS to my new public IP address. That is a pain indeed.
Luckily there is a way to automate this process.
Running a cronjob to update your domain’s DNS every hour.
You’ll need a machine running 24/7 for this task. The most efficient way is to run it on your media server since it’s already doing this.
But efficient is not what I do 😛
I have an old Raspberry Pi (the original one) that is just begging to be useful. So that’s what I’ll use instead.
Basically, throw Raspbian on it, and setup a cronjob to run this shell script every few hours to update your DNS.
(The full guide can be found over at LetsWP, check them out, I only copy the script here for your convenience)
#!/bin/bash
# Cloudflare as Dynamic DNS
# From: https://letswp.io/cloudflare-as-dynamic-dns-raspberry-pi/
# Based on: https://gist.github.com/benkulbertis/fff10759c2391b6618dd/
# Original non-RPi article: https://phillymesh.net/2016/02/23/setting-up-dynamic-dns-for-your-registered-domain-through-cloudflare/

# Update these with real values
auth_email="[email protected]"
auth_key="global_api_key_goes_here"
zone_name="example.com"
record_name="home.example.com"

# Don't touch these
ip=$(curl -s http://ipv4.icanhazip.com)
ip_file="ip.txt"
id_file="cloudflare.ids"
log_file="cloudflare.log"

# Keep files in the same folder when run from cron
current="$(pwd)"
cd "$(dirname "$(readlink -f "$0")")"

log() {
    if [ "$1" ]; then
        echo -e "[$(date)] - $1" >> $log_file
    fi
}

log "Check Initiated"

if [ -f $ip_file ]; then
    old_ip=$(cat $ip_file)
    if [ $ip == $old_ip ]; then
        log "IP has not changed."
        exit 0
    fi
fi

if [ -f $id_file ] && [ $(wc -l $id_file | cut -d " " -f 1) == 2 ]; then
    zone_identifier=$(head -1 $id_file)
    record_identifier=$(tail -1 $id_file)
else
    zone_identifier=$(curl -s -X GET "https://api.cloudflare.com/client/v4/zones?name=$zone_name" -H "X-Auth-Email: $auth_email" -H "X-Auth-Key: $auth_key" -H "Content-Type: application/json" | grep -Po '(?<="id":")[^"]*' | head -1 )
    record_identifier=$(curl -s -X GET "https://api.cloudflare.com/client/v4/zones/$zone_identifier/dns_records?name=$record_name" -H "X-Auth-Email: $auth_email" -H "X-Auth-Key: $auth_key" -H "Content-Type: application/json"  | grep -Po '(?<="id":")[^"]*')
    echo "$zone_identifier" > $id_file
    echo "$record_identifier" >> $id_file
fi

update=$(curl -s -X PUT "https://api.cloudflare.com/client/v4/zones/$zone_identifier/dns_records/$record_identifier" -H "X-Auth-Email: $auth_email" -H "X-Auth-Key: $auth_key" -H "Content-Type: application/json" --data "{\"id\":\"$zone_identifier\",\"type\":\"A\",\"name\":\"$record_name\",\"content\":\"$ip\"}")

if [[ $update == *"\"success\":false"* ]]; then
    message="API UPDATE FAILED. DUMPING RESULTS:\n$update"
    log "$message"
    echo -e "$message"
    exit 1
else
    message="IP changed to: $ip"
    echo "$ip" > $ip_file
    log "$message"
    echo "$message"
fi
[…] run a little movie club, which started out as a Netflix group buy a year ago, which later led to me setting up my own Netflix (with Jellyfin) eventually leading to me going down the /r/selfhosted rabbit hole, learning a ton […]